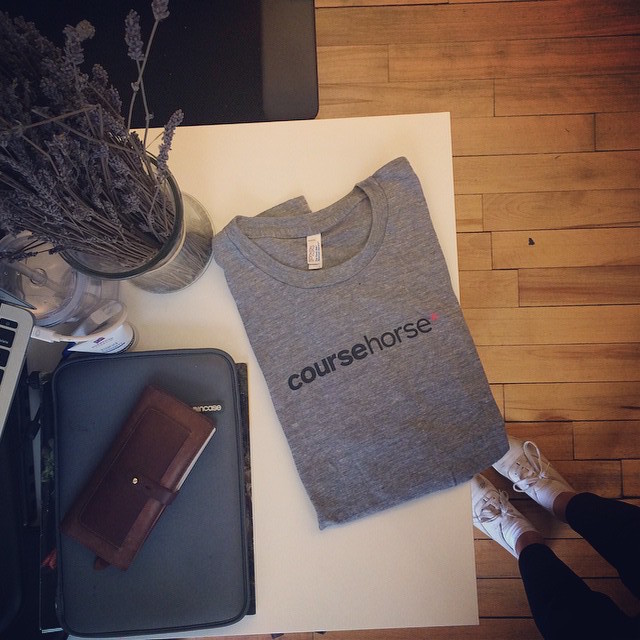
Three members of Team CourseHorse recently had the pleasure of attending Gowanus Print Lab’s T-Shirt Printing Workshop. We’d been thinking of ordering new CourseHorse t-shirts for a while and figured we should take the opportunity to learn something new by printing the shirts ourselves. Gowanus Print Lab gave us a fun and memorable experience – we left class with a thorough understanding of the screen printing process. The added bonus was our new set of (if we may say so ourselves) swanky shirts for the team – not bad!
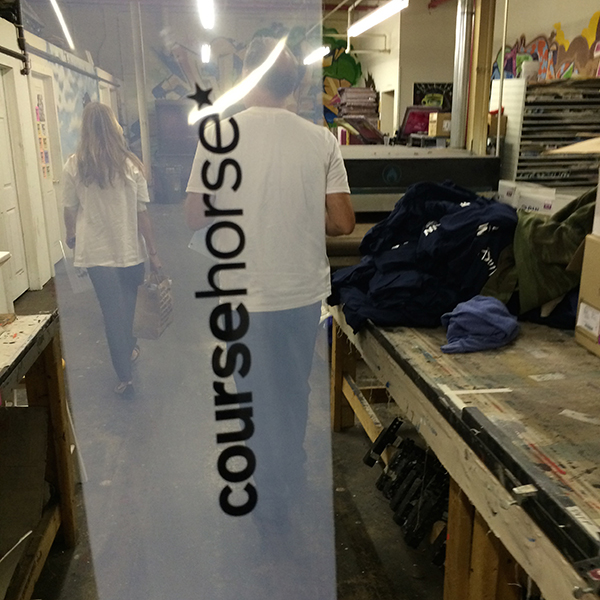
When we walked into Gowarnus Print Lab, we were greeted by our teacher Dennis and a few other students. As the other students trickled in we talked about the history and process of screen printing. None of us had any idea how much detail the process entailed. It is safe to say we left class with a new-found respect for the artists and craftsmanship behind printed shirts.

After going through the process and history, we got right to printing! Dennis took us through how to make screens, how to choose the correct type of screen to use based on the shirt design, and how to correctly print the design onto fabric.
SCREEN PRINTING STEPS:
1. CREATE YOUR SHIRT DESIGN and PRINT onto FANCY SCREEN PRINTING PAPER.
2. USE the DESIGN to CREATE YOUR SCREEN(S) – ONE per COLOR in YOUR DESIGN.
This process is similar to developing photographs in a darkroom. Put very simply: we attached our design to a screen coated with light-sensitive emulsion, applied an extremely bright light to the screen which broke through the emulsion on the screen (everywhere except for where the black of our design blocked the light!), washed away the emulsion, and voilà – we made a screen!

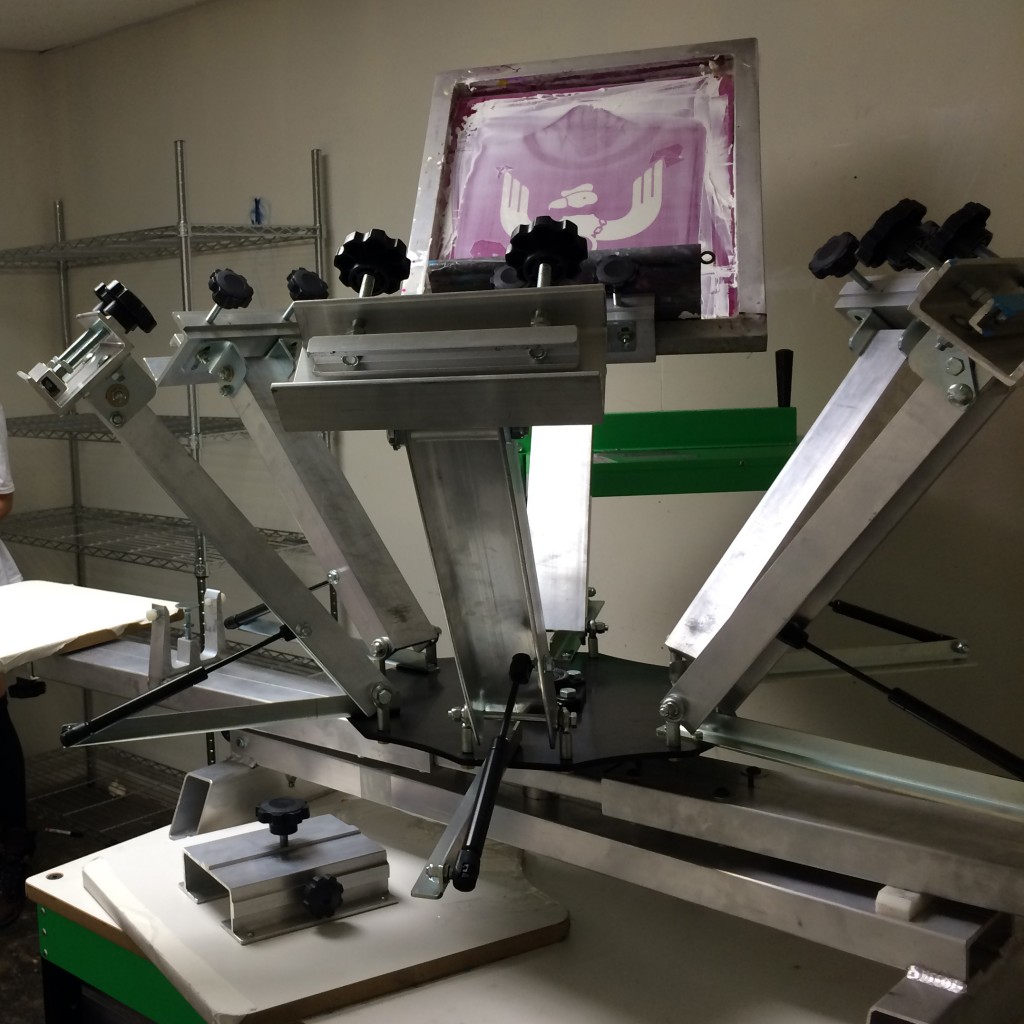
3. SET up SCREEN(S) on the ROTARY SCREEN PRINTING MACHINE (THIS THING) – ENSURING THEY’RE LINED up EVENLY.
4. MIX PAINT COLORS for EACH SCREEN. IT TOOK US a COUPLE of TRIES to GET OUR COURSEHORSE PINK STAR COLOR – but WE NAILED IT!
5. GET SQUEEGEEING!

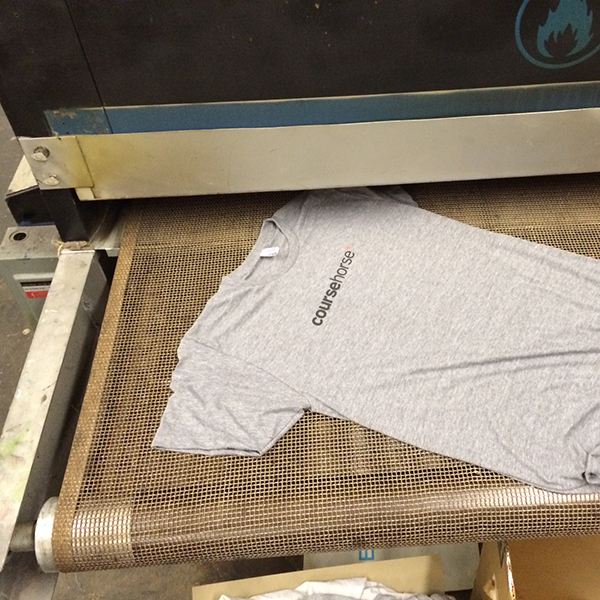
6. APPLY HEAT to FRESHLY PRINTED SHIRTS to SET the PAINT onto SHIRTS. GOWANUS PRINT LAB HAD a LARGE OVEN EACH SHIRT WENT THROUGH.
7. a T-SHIRT is BORN.
We’ve got to say, Dennis was an incredible teacher – both knowledgeable and experienced in the art of screen printing, but also very patient with students’ questions. Thanks, Dennis!
Want in on the fun? Check out Gowanus Print Lab’s next screen printing class, as well as other textile arts classes available on CourseHorse!